Occupational safety
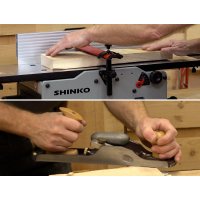
When straightening wood by machine, two machines are used exclusively for this purpose: surface planers and thickness planers. The surface planer is one of the most dangerous machines in a carpentry workshop. Its cutterhead rotates at several thousand revolutions per minute, and the cutting edges are razor-sharp. Familiarise yourself with your machine in advance, study its operating instructions and above all, use the safety devices supplied! The thickness planer has fewer hazards because the cutterhead is covered by the machine housing during work. Nevertheless, you should also familiarise yourself with this machine in advance. Wear personal protective equipment such as hearing protection and safety goggles when working with planers and ensure good extraction of dust and chips.
Trueing a surface
When machine trueing, the workpiece is pushed over the planer with the hollow side down. The following should be noted:
The first step is to adjust the chip thickness. It should be at least 0.5 mm. If less is removed, the cutting edges would not cut cleanly and become blunt more quickly. Initially you should not remove too much, maximum 1.5 mm. The thicker the chip, the greater the pressure acting on the workpiece. Only when you can judge the actual work forces should you dare to tackle larger chip thicknesses. The wood lies with the hollow side down on the infeed table and is pushed under the suitably adjusted cover of the cutterhead. The hands rest on top of the workpiece and the fingers are closed.
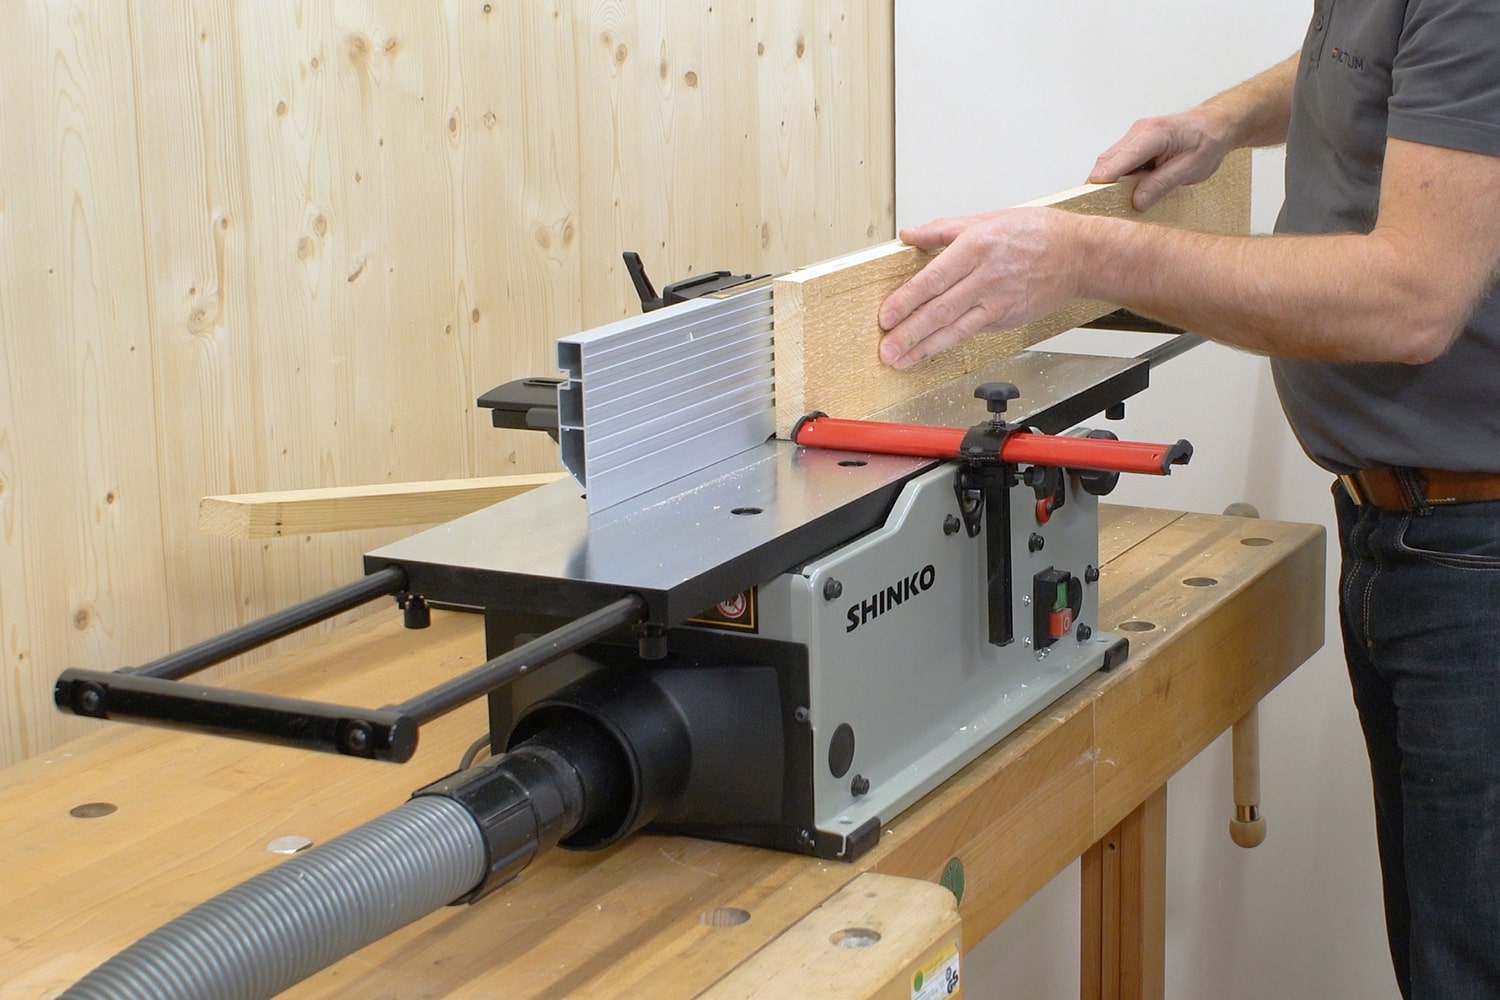
Trueing and joining edges with the Shinko AH200
When the workpiece has been pushed through so far that there is enough room for one hand in front of the cutter cover, the front hand (usually the left one) moves over the cutter cover onto the front part of the wood, which now rests on the outfeed table. This hand pulls the workpiece over the cutter head until the second hand also has enough space. From now on, the workpiece is pulled only. This process is repeated until a continuous planed surface has been created.
Joining an edge
After one surface has been dressed, an edge is joined to it at right angles. Adjust the cutterhead cover so that only the area immediately in front of the fence has an opening in the thickness of the material. During joining, the previously trued surface is pressed against the fence and the edge is guided over the cutterhead until a continuous planed edge has been created. Especially with narrow parts, you should avoid leaving your hands on the workpiece in the cutterhead area. The procedure is the same as for trueing the surface. Push the wood over the cutterhead until there is enough material on the outfeed table and the front hand can switch to the front. Then it’s just pulling. Check the result with a carpenter's square. The edge between the trued surface and the joined longitudinal edge is now marked with an angle symbol and from this point forward, is considered as the reference edge.
Planing to width
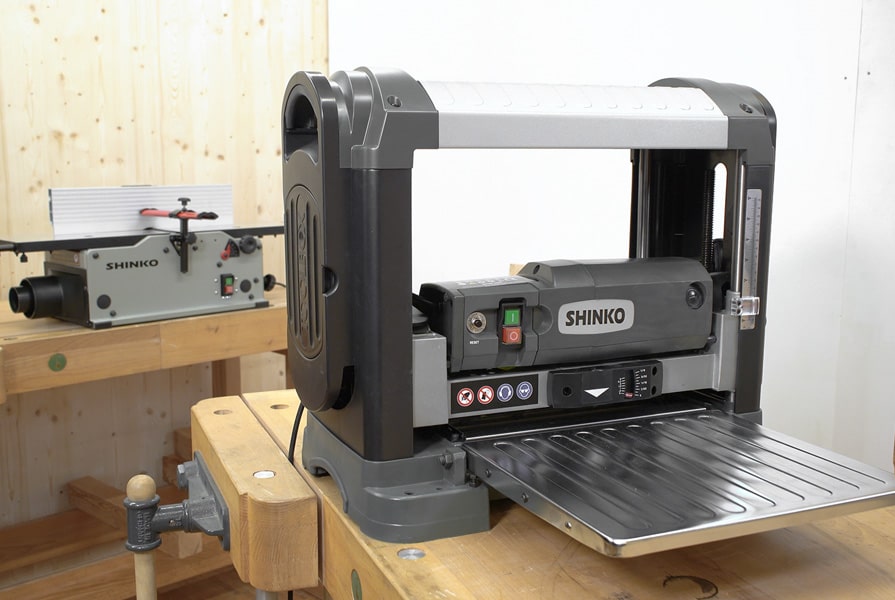
Now the opposite edge can be planed parallel to the reference edge. When working with machines, planing to width can be done first in order to use the original workpiece thickness as a support surface. The reference edge now rests on the machine table. Do not remove too much material at once. Plane the workpieces gradually to the desired width. The maximum material removal (up to 3 mm is possible with the Shinko DH330) is a heavy load for any machine.
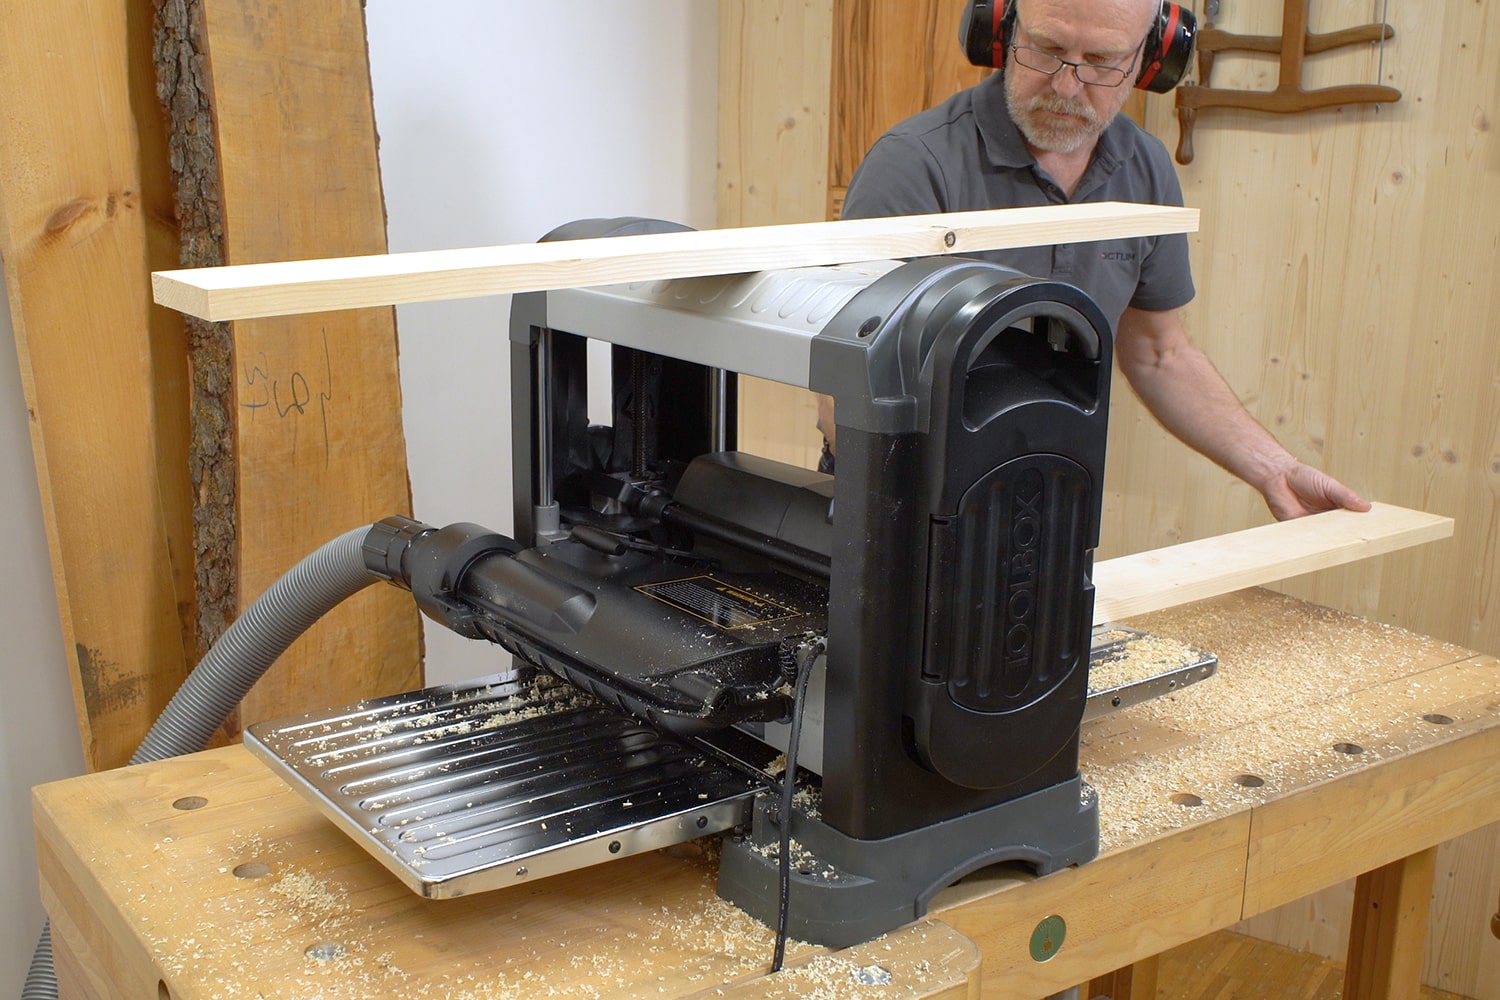
When planing to width and thickness, the Shinko DH330 is ideal
Planing to thickness
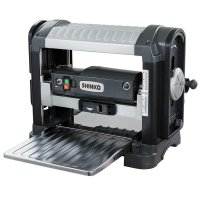
To plane the workpiece to thickness, set the thickness planer to the measurement of the thickest part of your workpiece minus at least half a millimetre. You should not remove less per planing pass, otherwise the planing result will be worse, and the planer blades will become blunt more quickly. Place the workpiece with the trued surface down on the infeed table. Gradually plane away material until the top surface is cleanly planed throughout. Make sure to plane with the grain. If there are any tears during planing, turn the workpiece around and push it through the planer with the other end first. Until the desired thickness is reached, the workpiece is turned around between each pass, not turned over, rather the ends are reversed. This way you ensure that the other side is also planed with the grain.
Shinko planers
Exclusively at DICTUM: With the Shinko AH150 and AH200 surface planers, you can choose between cast aluminium or cast iron machine tables.
All Shinko planers have a precision-milled spiral cutterblock. This arrangement of blades creates a smooth, satin finish without the typical planing knocks. The short cutterheads also have the advantage that they have less resistance during planing than one continuous, long plane blade. The lower effort needed reduces power consumption and the noise level is significantly lower than with comparable machines with conventional plane blades. Short chips are produced, which are easier to extract. Furthermore, damaged cutterheads can simply be turned or replaced.


