For many, saw sharpening is a mystery. However, with a little patience and care, resharpening a saw is not witchcraft.
What do I need to sharpen a saw?
You will need a saw vice, a flat file, a permanent marker is also useful, a saw file with a handle, possibly a protractor, the Veritas saw file holder or a homemade angle gauge and a sharpening stone or a DMT whetstone.
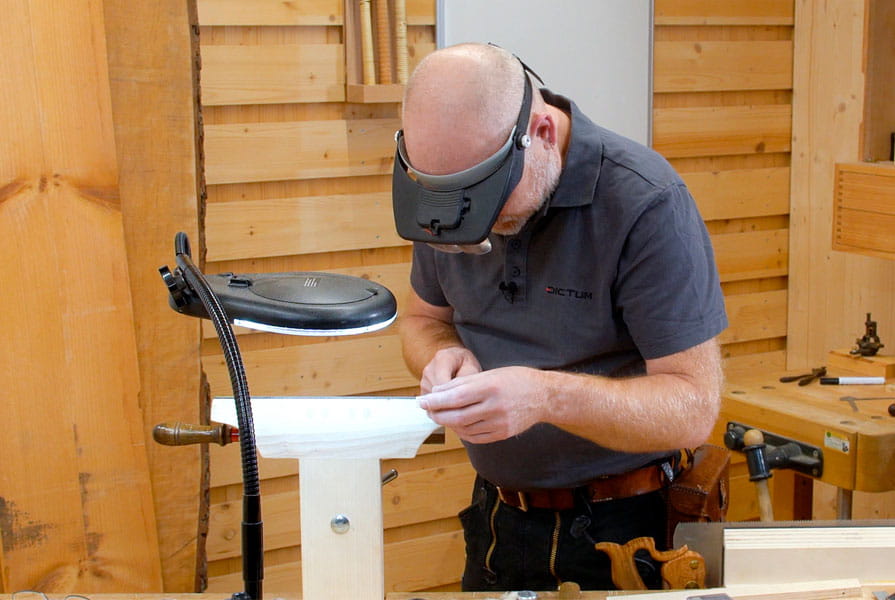
The working area should be properly illuminated. It is best if you can work in front of a window. If this is not possible, take a lamp with a swivelling arm so that you can adjust the lighting as required. For very fine saw teeth, a magnifying glass or headband magnifier helps for better visibility.
Which saws can be resharpened, and which saws are worth resharpening?
All old saws that are not too worn out or broken and high-quality new saws of western design are well suited for resharpening. Saws whose tooth tips are hardened (e.g., Japanese saws with interchangeable blades) cannot be resharpened. For saw blades that are made of a soft steel (e.g., cheap saw blades for frame saws), it is usually not worth putting work into sharpening.
At what angle should you file the teeth?
As a rule, sharpen saws with triangular files. With one stroke of the file, both the tooth face and the back of the neighbouring teeth are sharpened. This means that the teeth all have an angle of 60° at the tip. The cutting properties are influenced by two other angles. One is the inclination of the tooth face with respect to the vertical, the so-called “rake” angle. The other angle is the bevel or “fleam” angle. This indicates how oblique the tooth face is filed to the longitudinal axis.
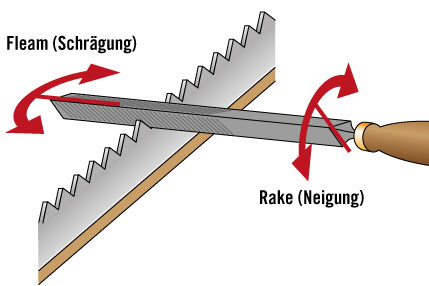
Fleam refers to the inclination to the longitudinal axis, rake to the inclination of the tooth face.
From the table below, you can see common rake/fleam pairings for the respective cutting direction of the saw.
| Type of teeth | Inclination - „Rake“ | Bevel - „Fleam“ |
|---|---|---|
| Longitudinal | 4° | 0° |
| Transverse | 15° | 20° |
| Hybrid | 10° | 15° |
If you want to determine the existing angles of a toothing, you can place a saw file in the spaces between the teeth and take the rake and fleam angles with a protractor or set the angles directly on the file holder.
This is how you resharpen your saw:
Only a few steps are necessary to make a dull hand saw sharp again in a short time.
Trimming. Use a file without a handle, preferably a single-cut file, to bring the tips of the teeth to the same height. To do this, run the file over the teeth at as right an angle as possible. Only make as many file strokes as are necessary to reach all tooth tips. If the teeth were of different heights before trueing, you will now have different sized surfaces on the tooth tips. Marking. To make it easier to see the progress of the sharpening, blacken the entire length of the teeth (tooth face and back) with a permanent marker.
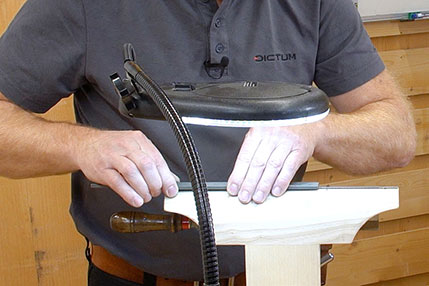
During Trimming, all teeth are brought to the same height.
Sharpening. You can sharpen all the teeth from one side, or you can sharpen every other tooth from one side first, then turn the saw around, and then sharpen the teeth in between from the other side. If you file everything from one side, you only have to change the fleam angle (for cross and hybrid toothing). But then burrs will form on one side of the teeth. When sharpening from two sides, you have to change both angles, but the burrs will form evenly on both sides of the serration.
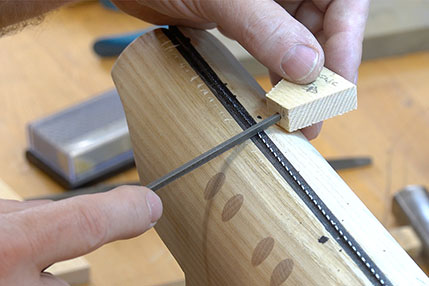
Routine leads to an even result when sharpening
Get into the habit of a routine when filing. If the steps are always done evenly and in the same order, you will make fewer mistakes and the result will be more even.
To keep the angles permanently, set the appropriate angles on the file holder or use a homemade angle gauge. We show you how to build an angle gauge yourself in our video tutorial. In the first step, all teeth that are inclined away from you are filed evenly with the teeth with a fleam angle. Then all the teeth in between. For rip saws without Fleam, you can file every tooth space or saw tooth.
In the second step, file the saw teeth to the same size that still have surfaces left over from the trueing. The teeth with larger surfaces will be filed more. To be able to see better how far you have progressed in sharpening, you can blacken the teeth again with the marker before each filing pass. Then file through the entire tooth evenly in one pass so that all surfaces on the teeth are safely filed away, and all teeth are really sharp.
Deburring and fine-tuning. Finally, deburr both sides with a sharpening stone or a diamond sharpening block. To do this, pull the sharpening stone once over the tooth flanks on both sides of the saw blade, in each case from the handle towards the tip of the saw. Now make a test cut, guiding the saw as loosely as possible so as not to tilt and press the saw to one side. If the saw cut runs in one direction, pull off the side to which the saw runs a second time with the sharpening stone. Repeat the test cuts and honing until the saw cuts straight and no longer strays.
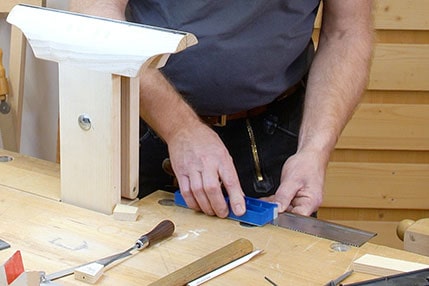
Always deburr saws against the cutting direction from the handle to the tip.
Off-set teeth. If the saw still has enough off-set teeth, you are now ready. After five to ten sharpenings, however, the saw needs to be reset. This usually happens before the last filing pass, i.e., after all the teeth have been brought to the same height and the remaining surfaces on the tips have almost disappeared. To do this, adjust the setting pliers so that the tooth is folded over in the upper two-thirds and the off-set teeth are no more than 10 % of the saw blade thickness. Every second tooth is set to one side according to the old off-set teeth, the saw is turned over and the teeth in between are set to the other side. After setting, the saw must again be very lightly trued. With a light sharpening pass, the resulting surfaces on the teeth are removed. Then deburr again and test cut.
With the above steps and a little practice, saw sharpening is quickly done. Have the courage! You will be amazed at how much better your saws cut again.
