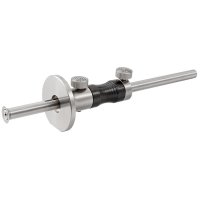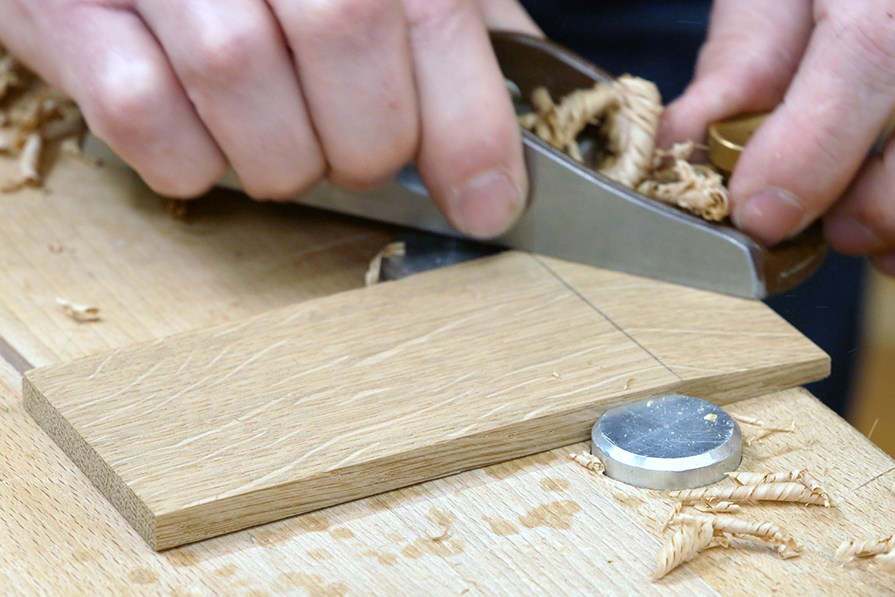
Imagine the following situation: You want to plane a surface that joins together two markings, for example a wide chamfer on a drawer bottom. The marking on the upper side is clearly visible, but the marking on the edge is not visible from above. When planing to thickness, the four lateral depth markings on the board edges are also barely visible from above. When planing, how can you check how far you are from the marking without having to contort yourself all the time?
Planing a wide bevel
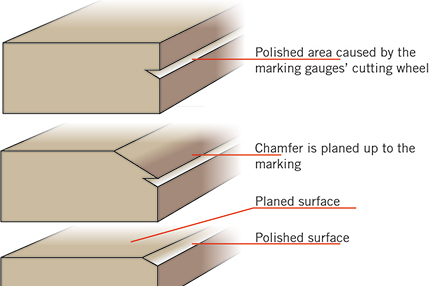
First clamp the workpiece upright so that you can clearly see the depth marking on the edge and plane a steep bevel up to this marking. Now you can clamp the workpiece in a horizontal position and thus see both markings from above. Remove material with thick shavings until just up to the two markings. Now adjust the plane somewhat finer or change to a finely adjusted plane and plane the surface comfortably and precisely up to the two markings without having to contort your body.
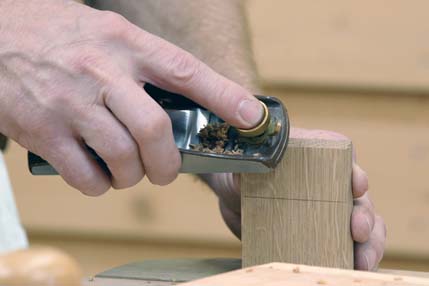
Planing a chamfer up to the depth marking
Trueing surfaces to the desired thickness
When planing to thickness, clamp the workpiece upright and give the two long edges a steep chamfer up to the marking, as described above. Then clamp the workpiece in a horizontal position between the bench hooks and chamfer the two front ends. The two longitudinal chamfers show you how far the chamfers at the front ends have to be planed. Don't be surprised! The auxiliary chamfers are often of different widths when planing to thickness, as the workpiece must still be cut to size.
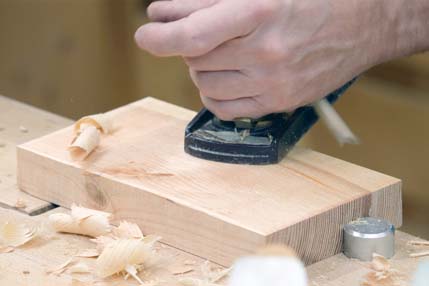
When planing to thickness, the four chamfers serve as reference points
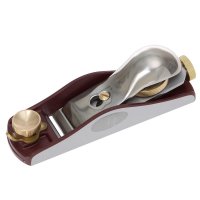
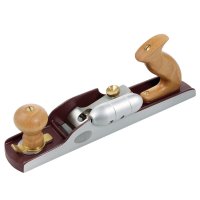
Before starting to plane, check again that all four sides are chamfered up to the marking. Now you can roughly plane the surface with a scrub and jack plane until just up to the markings. Finally use a smoothing plane to remove the remaining material up to the markings.
If you have used a marking gauge with cutting wheel, this will leave a small, polished area in the marking. You will also see this area from above when you arrive at the marking. The polished surface shows you exactly where the material has been sufficiently removed or where a few planing strokes are still needed.
