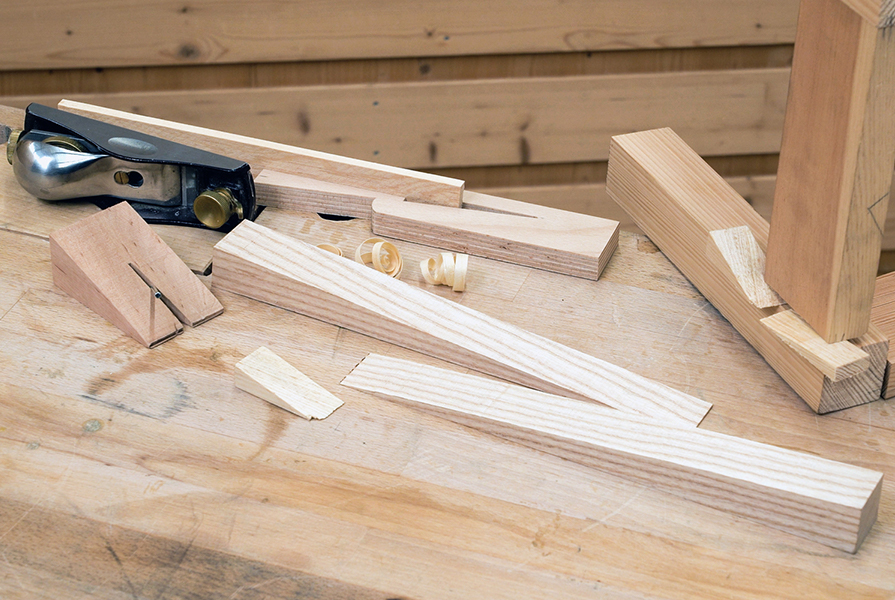
Nearly every carpenter keeps a handful of various wooden wedges in their toolbox. Wedges can act in two directions. They can split and move things apart, and they can press or hold parts together. Simple wooden wedges can therefore be extremely helpful in many situations. Here's a small selection of five tips and tricks with wooden wedges!
Tip 1: Two wedges are better than one
When a single wedge is driven into a gap, there's always an uneven distribution of pressure: the strongest pressure is at the edge of the workpiece, while the tip of the wedge often has no contact with the workpiece. If, on the other hand, two wedges are placed against each other at the same angle or with the same pitch, their longitudinal edges create parallel surfaces, resulting in even pressure distribution. Accordingly, using two wedges allows for better alignment and clamping of parts compared to using only one wedge. The risk of damaging the workpiece edge is significantly reduced.
Two wooden wedges distribute the pressure on the workpiece more evenly than just one wedge.
Trick 2: Pulling out nails with a wedge
When pulling bent nails, there's always a risk of damaging the surface with the pliers or claw hammer. To prevent this, a spacer, such as a thin wooden board, can be used. Even better, you can place a chock with a small slot in the centre. It will protect the surface and function as a lever due to its pitch, increasing the pulling force when removing the nail.
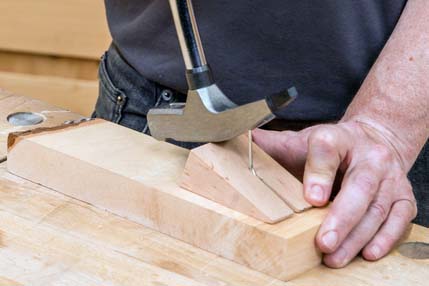
The wedge protects the surface and facilitates nail removal
Tip 3: Wooden wedges used as edge clamps
For glueing solid wood edges, Edge Clamps are typically used. If you do not have these to hand, you can also use standard screw clamps with support pieces on the workpiece surface. Leave enough space along the edge to slide the edge band past the clamps. With two wooden wedges per clamp, you can press the edge band against the edge and glue it securely.
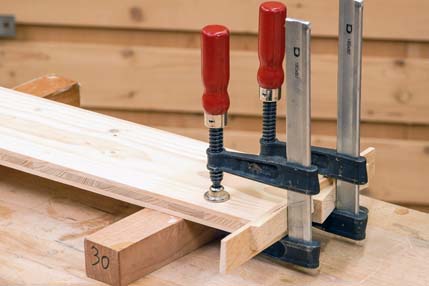
The wooden wedges press the edge band firmly against the workpiece edge
Trick 4: Gently disassembling old furniture with wedges
When restoring and repairing furniture, it's often necessary to disassemble or at least slightly open the wooden joints. To gently disassemble old furniture, avoid trying to forcefully hammer them apart or lever them apart with excessive force. Both approaches can cause damage. A more delicate way to disassemble or open wooden joints is by using small wedges directly at the joints to gradually separate them.

Gentle and gradual opening of a wooden joint with wedges
Tip 5: Wedge clamping aid for narrow strips
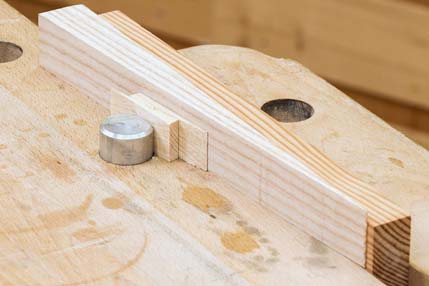
Very narrow strips are difficult to clamp in a workbench. When clamped in the front vice, they tend to slide downwards while planing. Clamped between bench dogs, they often warp. Instead, build a practical clamping device from a piece of multiplex board or plywood. Cut a wedge-shaped slot in the plate, with a pitch ratio of 1:7. On one side, trim the plate slightly to make it easier to insert and remove a wooden wedge (also with a pitch of 1:7). Now the clamping jig only needs to be attached to the workbench. You can screw a wooden block onto it and use it to clamp the clamping jig in one of the vices or insert it into one of the bench dog holes. We simply drilled a blind hole with a diameter of 30 mm on the underside of the clamping jig to fit it onto a bench dog.
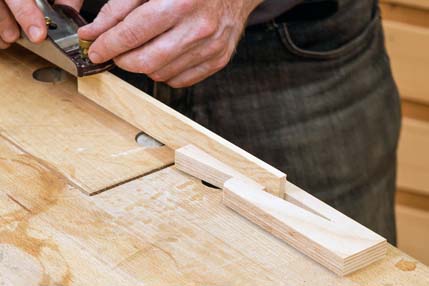
Such a clamping aid is quickly built

