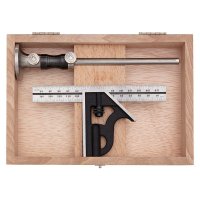
Marking is one of the first steps in every woodworking project. After the workpieces have been dressed or cut to size, the joints are scribed. Marking errors result in the project ending up imperfect or even failing completely. It is therefore absolutely essential that you know how to use marking tools correctly. We explain why you should use both the marking gauge and combination square together and what the advantages of this tool combination are.
To which tool groups do the marking gauge and combination square belong?
The essential difference between the marking gauge and the combination square is that they belong to different tool groups. While a marking gauge is a marking tool, combination squares belong to the measuring and inspection tools.
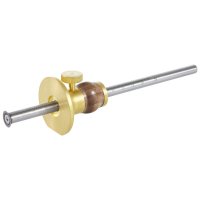
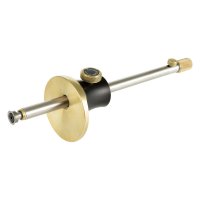
Marking tools are used to make marks on workpieces. Marking tools have »marking agents« that leave recognisable traces on the workpiece (e.g. pencil lead, needle or cutting wheel). A marking gauge is thus suitable for making marks parallel to a reference surface on the workpiece.
The DICTUM marking gauge with fine adjustment enables precise marking
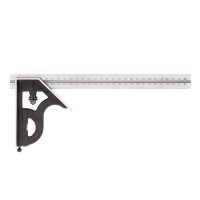
Distances and angles are measured and checked with measuring and inspection instruments. They have a scale or display on which the measured values can be read (Some inspection tools are used as a reference and do not have a scale, e.g. gauges). Usually, measuring and inspection tools do not have their own marking means. If you want to mark out with a combination square, for example, you will inevitably need an additional marking tool, such as a pencil, a scribing needle or a marking knife.
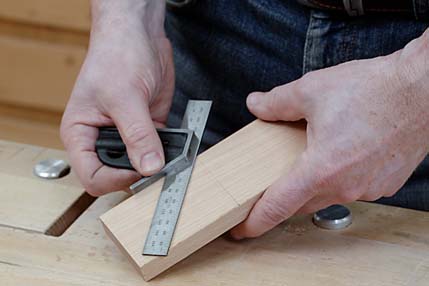
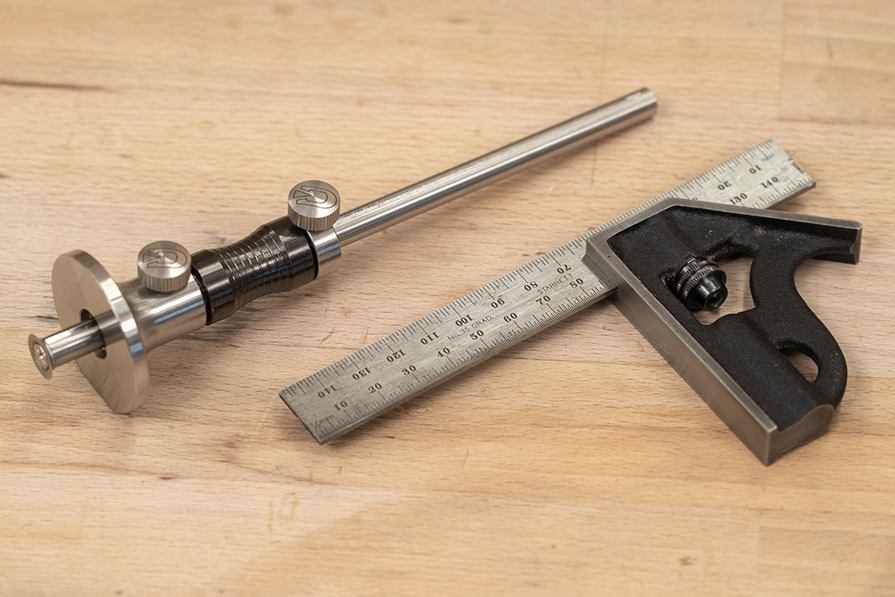
The compact Starrett combination square is ideally suited for checking and measuring
And this is when errors are likely to arise. If the marking medium is not positioned exactly when marking out with a combination square, for example if a blunt pencil is guided at an angle, deviations of up to one millimetre quickly result.
What is a marking gauge used for?
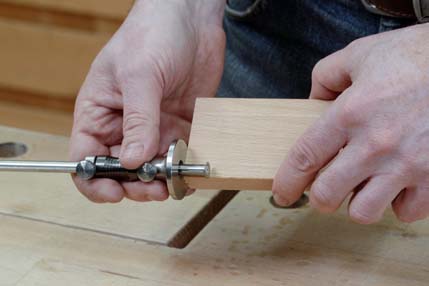
As already mentioned, a marking gauge is ideal for scribing fixed measurements parallel to a reference edge. If the marking gauge has a fine-tuning device, exact measurements can be set very quickly. Marking gauges with a cutting wheel that is flush with the head can additionally be used for callipering and transferring material thicknesses and depth measurements (e.g. mortise depth).
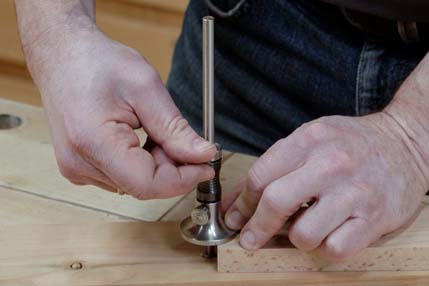
Use a marking gauge to transfer depth measurements directly
Advantages: Easy marking of parallels, simple transfer of thickness and depth measurements.
Disadvantages: Adjustment according to scale on head often not precise enough. If the reference surface is not flat, the inaccuracies are transferred over the mark.
What is a combination square used for?
A combination square takes on a variety of tasks. With all combination squares you can measure and check distances, right angles (90°) and mitres (45°). If the rule slides, the square can also be used to check material thicknesses and depth measurements accurately. You can also remove the rule from the square to measure on a surface. Some models feature additional functions, such as a degree gauge or a spirit level.
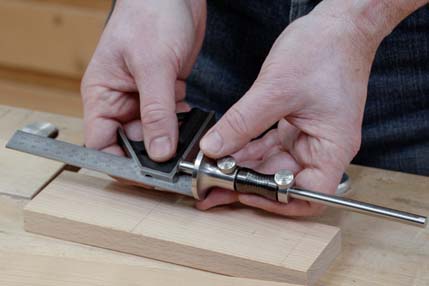
If it has to be precise, the scale of the combination square is more accurate
Advantages: Very accurate scales and stops, precise measuring, checking and determining measurements as numerical values.
Disadvantages: Has no scribing medium, there can be deviations during scribing.
How can the marking gauge and combination square be combined?
Provided they are of good quality, both are tools that enable precise scribing. With a combination square you can mark out and check right angles. This is not possible with a marking gauge.
Whenever precise numerical values are required, for example when marking out according to a plan or checking dimensional accuracy, the combination square is the tool of choice. Using its scale, you can mark out values with 0.5 mm accuracy quickly and easily (make sure that the marker is guided correctly!). The combination square is also usually more suitable for setting the marking gauge to a specified value than the scale on the marking gauge itself.
Whenever it is a question of marking out dimensions starting from a reference edge, the marking gauge has an advantage. This is much easier with the marking gauge than with the combination square, especially for long parallel markings. In addition, thickness and depth measurements can be transferred directly using a marking gauge with a cutting wheel. Directly transferring is always more accurate than measuring!

